How to Make a 3D Folded Paper Frame
This project turns a flat piece of paper into a 3D frame. You do not need glue to hold the frame together, though you can use a small amount to make it extra strong.
What You Need
- Paper
Thick paper works best, like cardstock or poster board. If you use poster board, try to have the glossy side facing out. This gives the frame a shiny, polished look. This is how I make all of my frames. - The Template
If your printer cuts off part of the template, you may need to use the “Shrink oversized pages” or “Fit” print setting. Make sure nothing is missing when it prints. - Your Art
The display area of this frame is 2.75 inches by 4.75 inches. Your drawing or photo should be sized to fit inside this area. Canva is a helpful tool for resizing photos. - Tools
Scissors
Something to score with, like the back of a dull craft knife, a ruler, or a pen that has run out of ink. Use light pressure when scoring.
How to Build It
Step 1: Cut It Out
Carefully cut along all of the solid lines. Be sure to cut out the empty spaces marked on the template. These spaces help the frame fold and lock together.
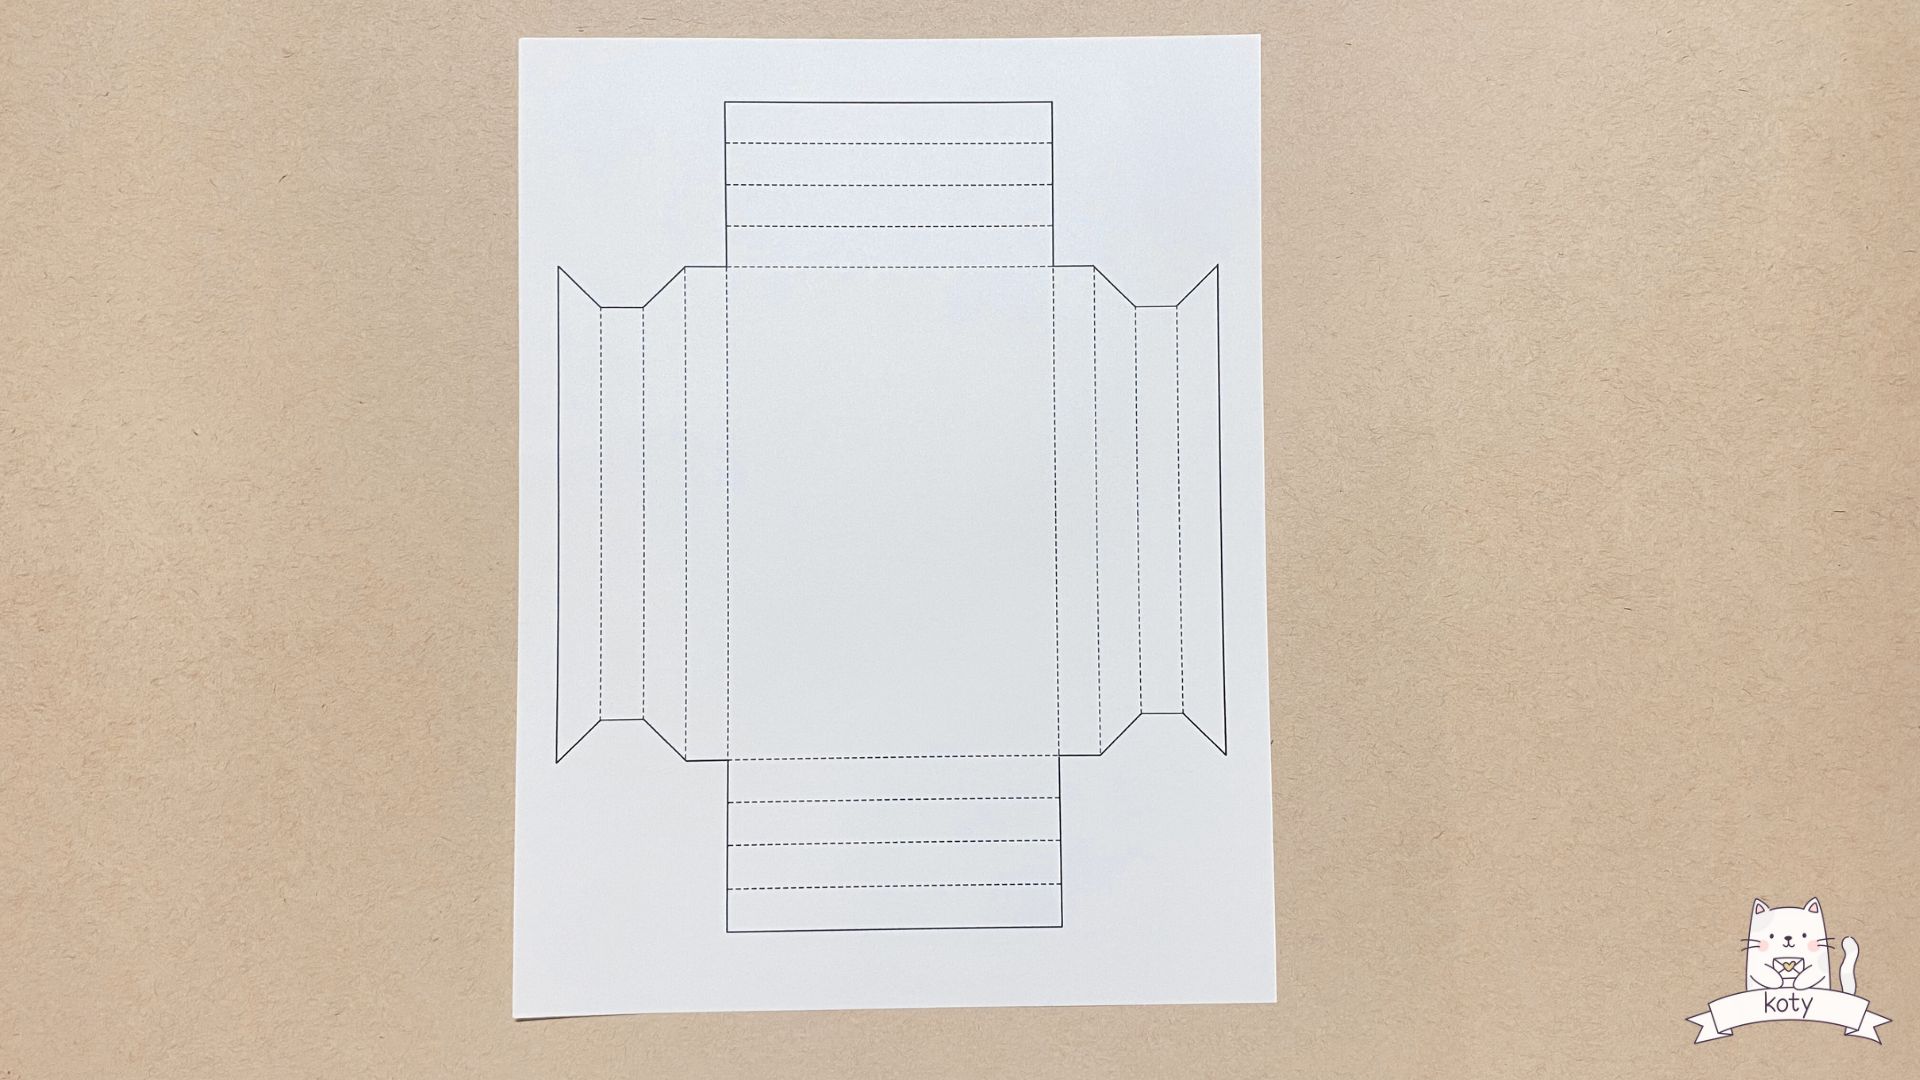
Step 2: Score the Lines
Scoring means pressing a line into the paper without cutting all the way through. Use a ruler and a dull tool to press down on every fold line. This helps the paper fold neatly and straight.
Step 3: Add Your Art
Before folding anything, glue your picture into the middle of the back panel. Make sure it is centered in the display area, which is 2.75 inches by 4.75 inches.
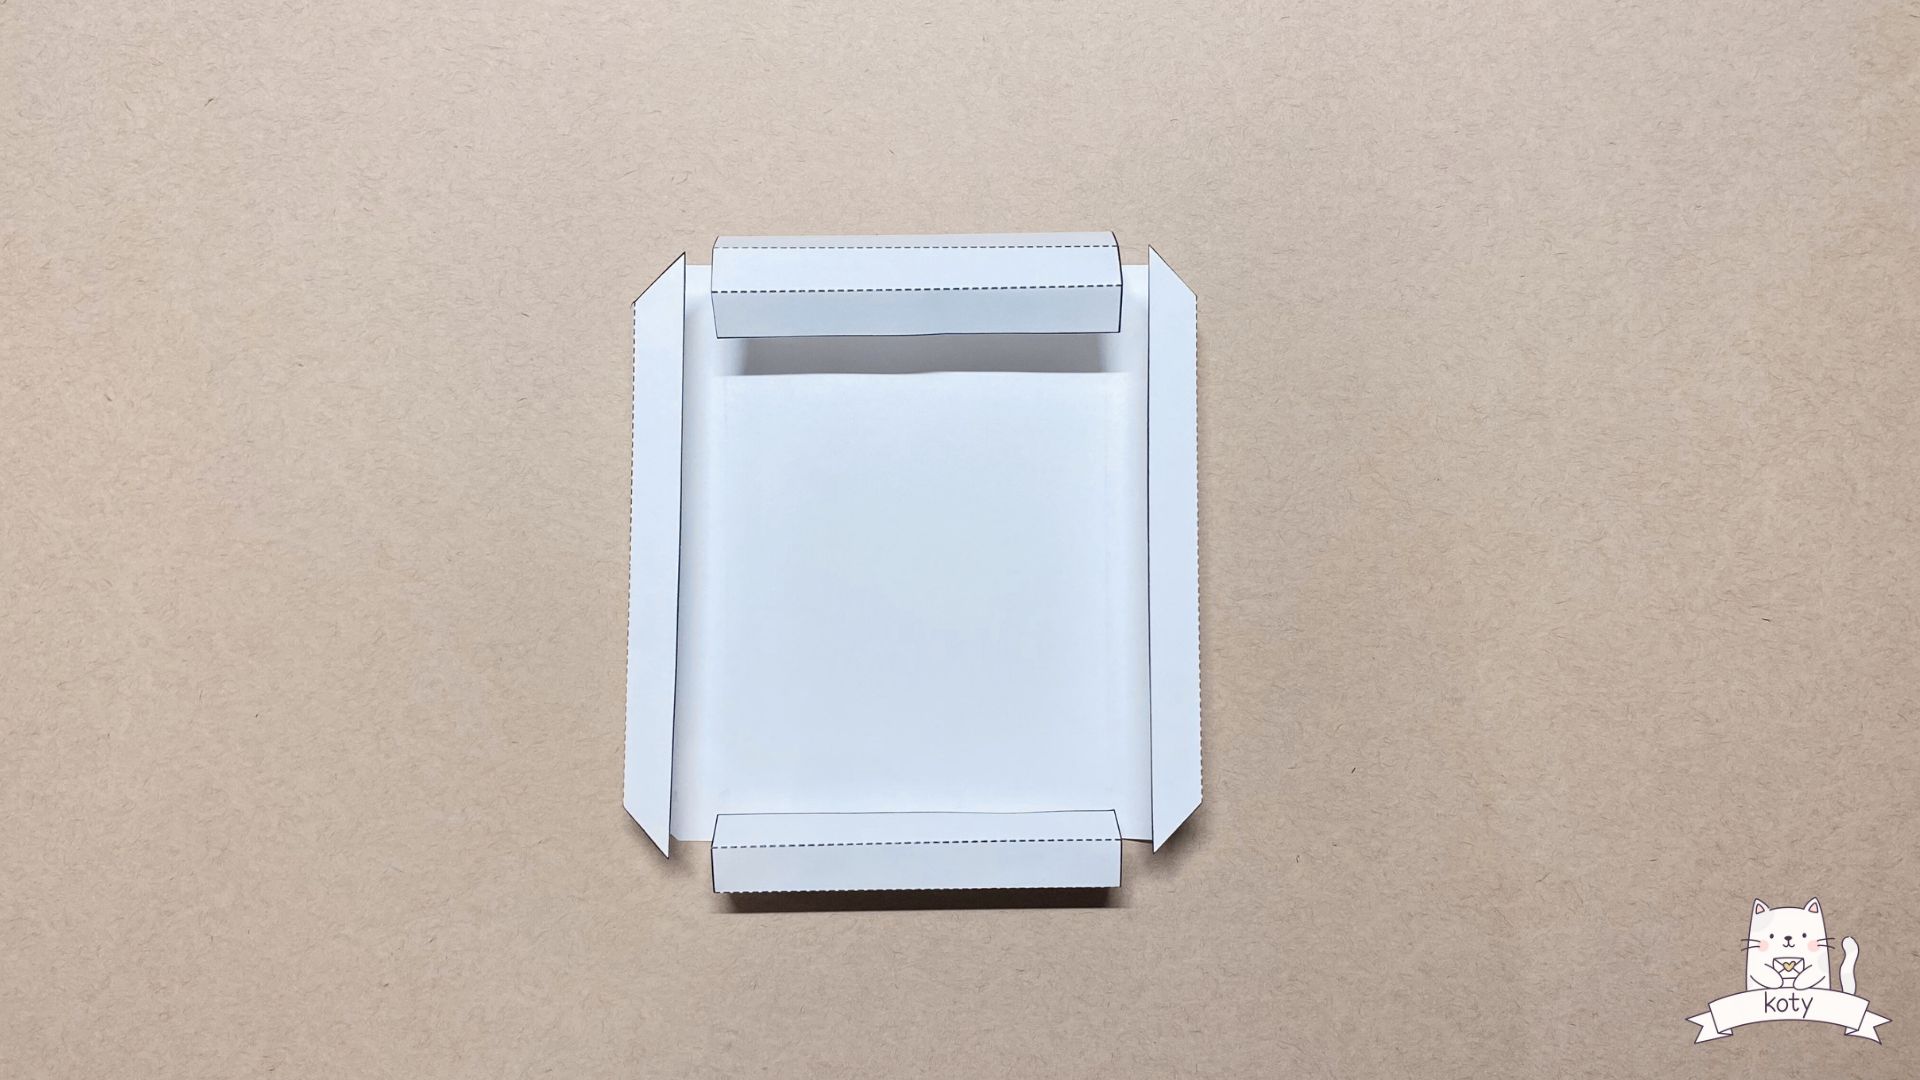
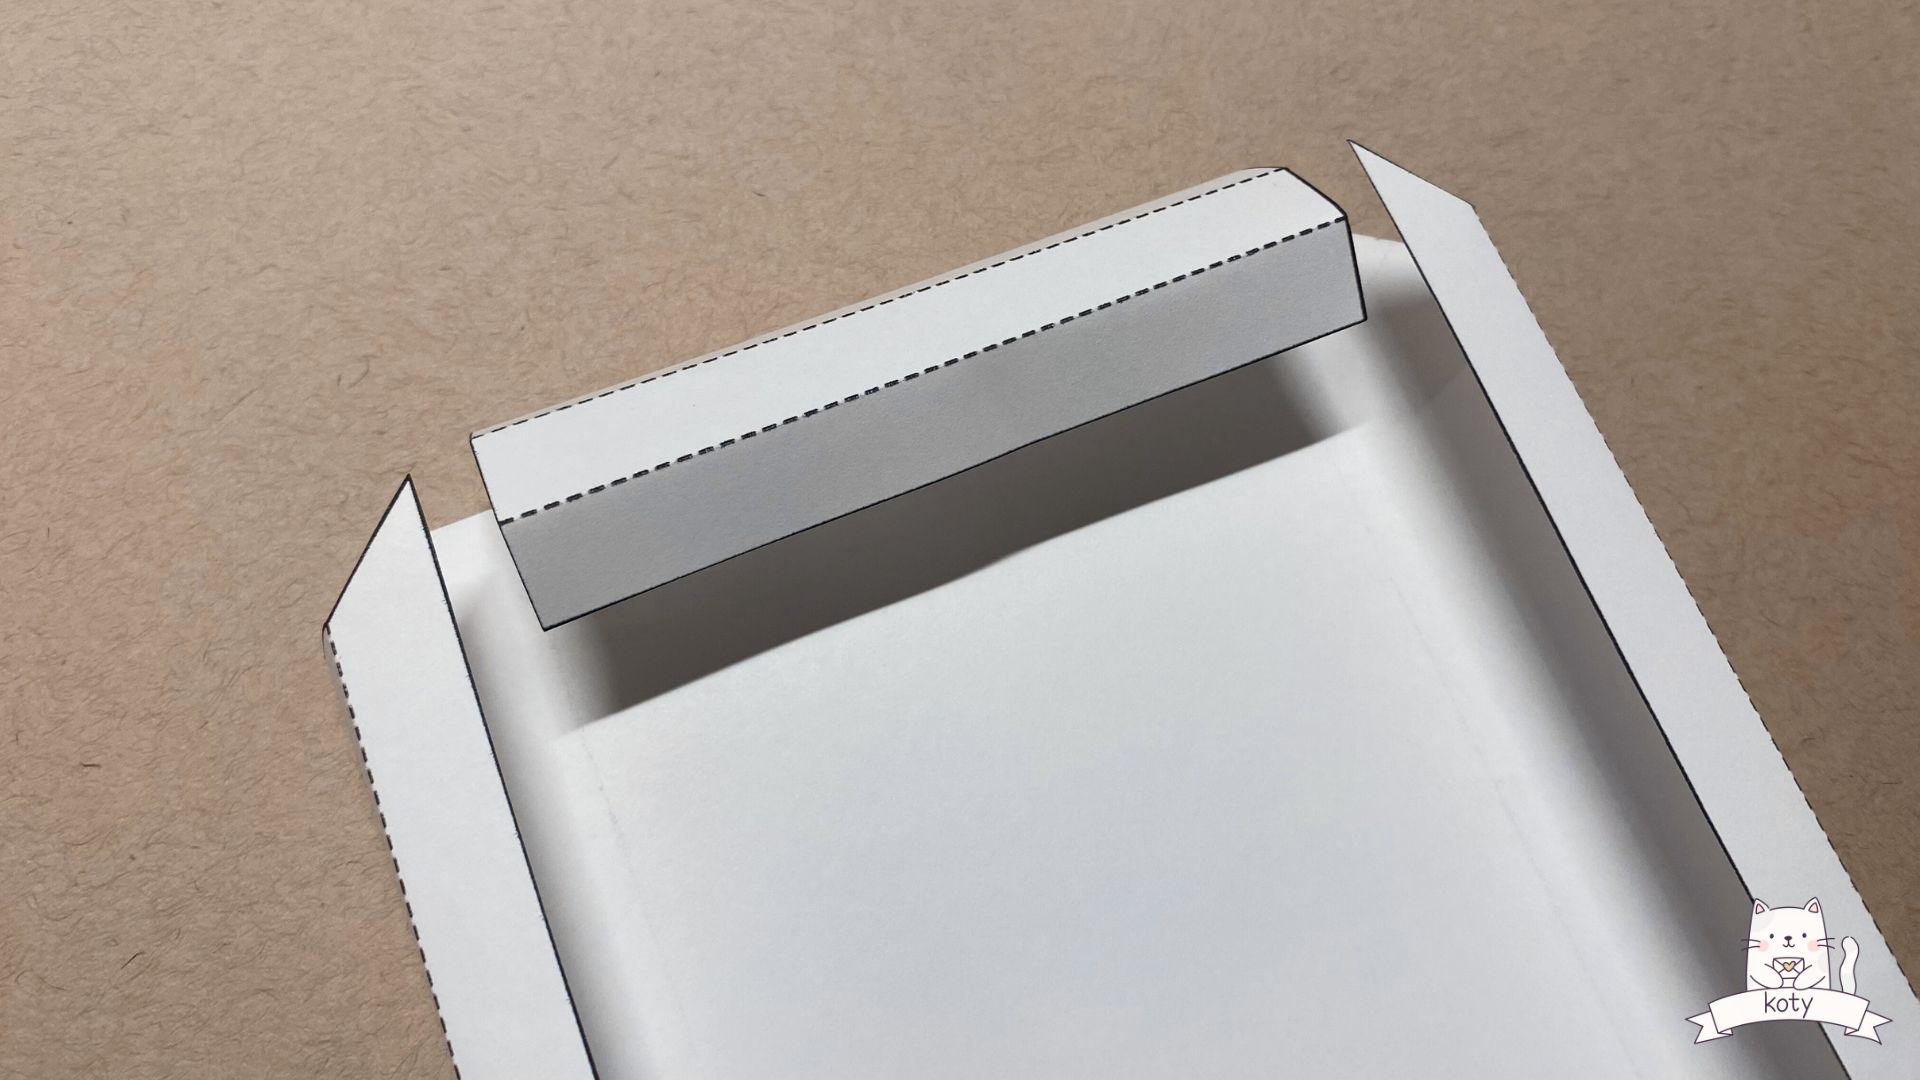
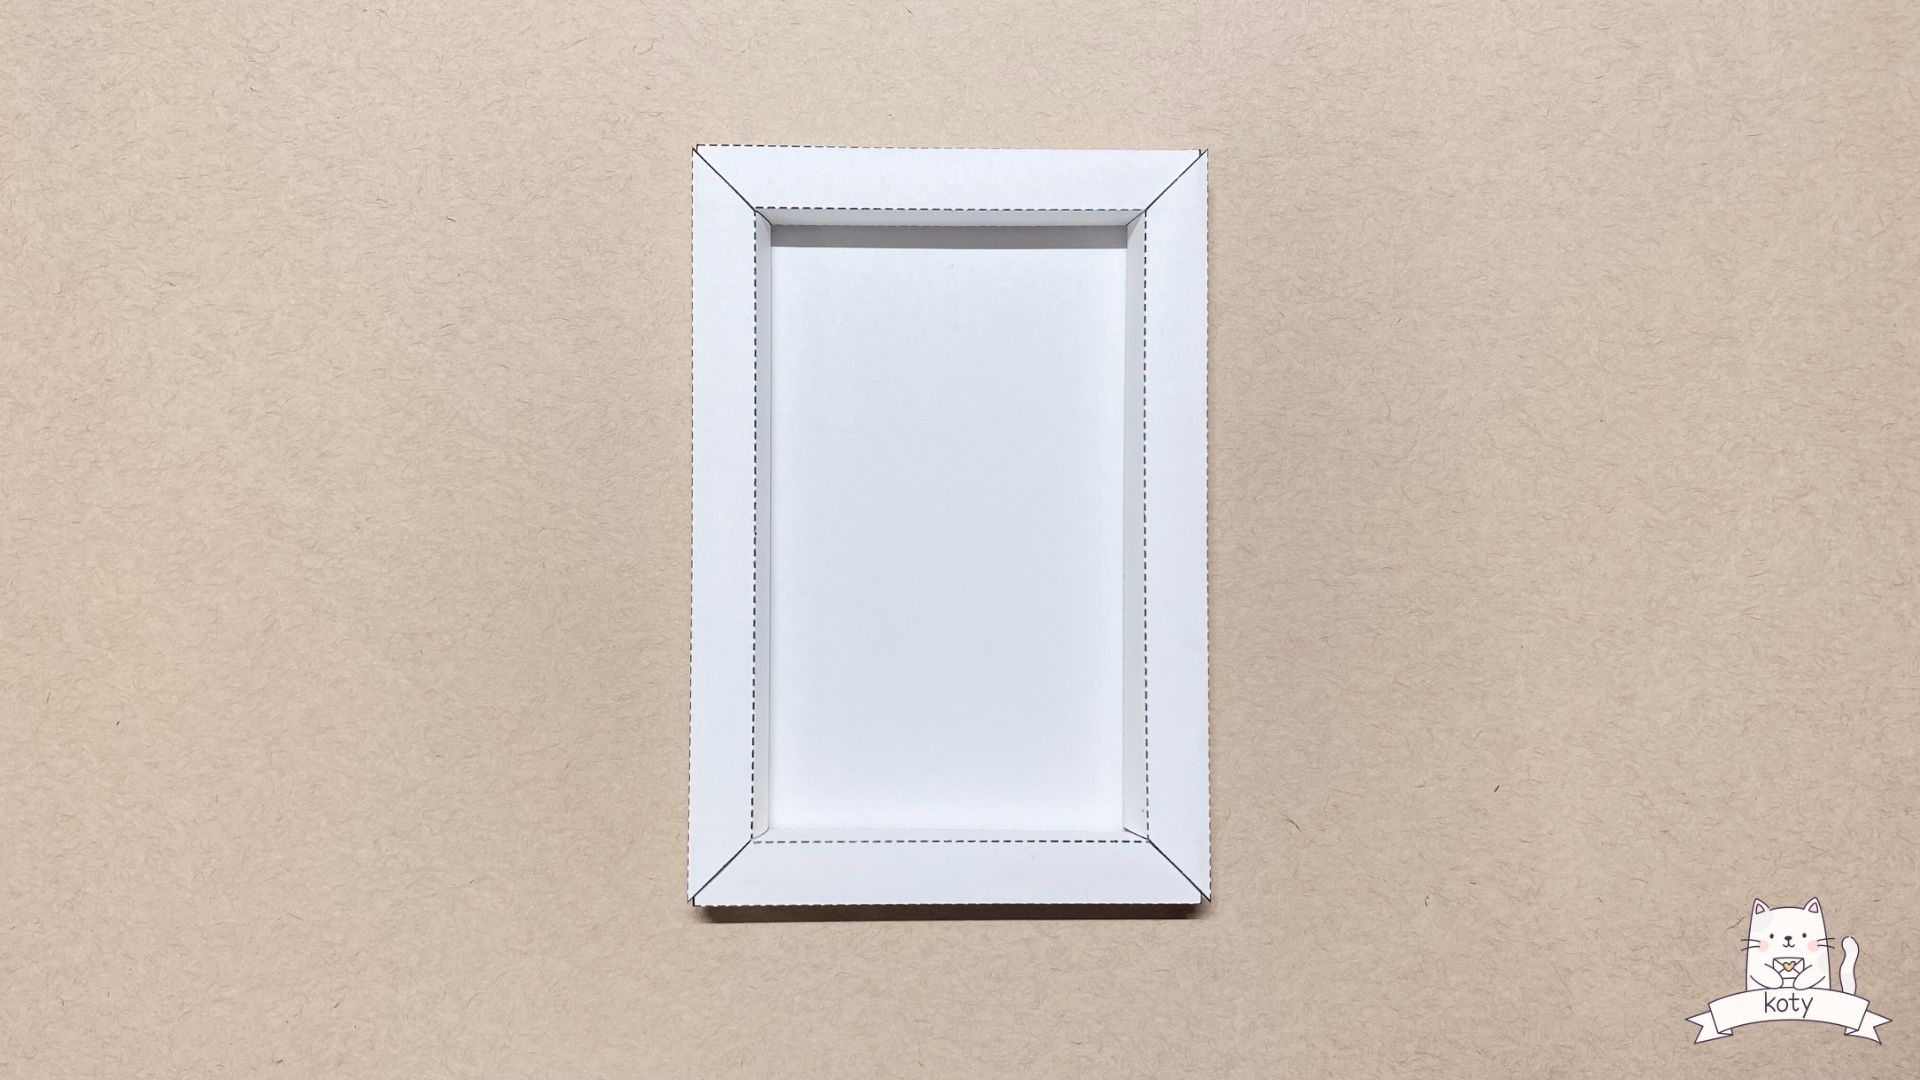
Step 4: Fold and Lock
Fold all the sides up along the scored lines. To finish the frame, tuck the small corner tabs into the slots on the sides. The pieces should lock together like a puzzle.
Step 5: Optional Glue
If the frame feels loose, add a tiny dot of glue in the corners to keep the tabs tucked in. Aleene’s craft glue works well.
Extra Tips for Success
- Check the Size: Your paper should be a standard 8.5 by 11 inch sheet. Make sure the printer did not cut off any edges of the template.
- Practice First: Try making one frame using regular printer paper before using cardstock or poster board.
- Think Big: You can make a larger frame by resizing the template and tracing the shapes onto a bigger piece of poster board.
Resizing the Frame
The template provided creates a frame with about a half-inch border when folded.
If you want a bigger frame, start by measuring the center area you need. Remember that the frame folds inward.
Example: If you want an 8 inch by 10 inch picture and a 1 inch frame border, you will need to add that border size to all four sides. This means your center section will need to be 10 inches by 12 inches before folding.
Next, work your way outward to create the sides of the frame. Be sure to leave enough space for the four folded sections that form the frame walls, just like in the template.
You will also see cut-out or empty sections along the frame sides. These allow the paper to fold and tuck correctly. When resizing, these cut-out areas should match the border size you choose.
Finally, angle the cuts at the corners just like in the template. This helps everything line up neatly when the frame is folded.